 |
Swirls and pebbles à la Angela Walters
|
Showing posts with label bedquilt. Show all posts
Showing posts with label bedquilt. Show all posts
Thursday, September 24, 2015
Intense swirls & pebbles
It has been a nose-to-the-grindstone kind of month. Back to quilting the bed quilt. I want to finish and gift it before winter.
There's a reason for those gaps. Filling it completely with swirls and pebbles was so intense. Turning out lovely. But makes me want to tear out the quilting elsewhere.

Friday, February 14, 2014
Pause after battle
 |
| taming the bedquilt |
I'd walking-footed along both sides of major seams and fmq'd in the ditch within each nine-patch triangular block. As Cindy Needham says, stitch E-S-S (every stinking seam).
 |
| laid out on my bed for inspection |
- the open toe walking foot lets me see enough for straighter and truer stitches;
- using the fmq foot is like driving a sports car instead of a moving van; and
- when restarting, take a stitch in place and relax the finger hold so that the first stitch is not tugged awry.
 |
| wool batting puffs up each triangle |
Quilting is on pause as I contemplate motifs: may leave the printed triangles as is, and add feathers and swirls in the larger solid areas.
Monday, January 27, 2014
Monster mash

I wanted to experience how manageable - or not - this bigger-than-queen quilt would be on my Janome 6600. So far not very - it's like wrestling with a beast!

Stitches waver along the ditch even with the walking foot. Maybe free-motion will be better (ha!). Maybe a new machine with another two inches would do the trick. What I know for sure: un-stitching is in my future.
Saturday, April 6, 2013
Quick & simple projects
Some time ago I'd replace the binding on an old blanket:
 |
| new binding on old blanket |
Studio trash container repurposed from a 25-pound rice sack:
 |
| simple & quick studio waste basket |
 |
| case, saber & sword |
Then there's the long promised bed quilt, which I'd posted about previously. Due to its size, definitely not quick but fairly simple:
 |
| on the wall before corners were filled in |
 |
| trial layout on the bed, unquilted |
I was on a pragmatic roll and signed up for a guild workshop. A collaged vest to kill three birds with one stone: make my first art-to-wear, use a clothing pattern from my ever-growing collection, and reduce the stash of print fabric.
First I made a fitting muslin to try out the two different front placket options. The pattern is Lois Ericson's In the Studio - 7, Folds and Edges.
 |
| muslin vest on the design wall |
 |
| muslin vest on an old (deformed) dress form |
During the workshop, the instructor, Christine Barnes, helped me with the right front panel. After the workshop, I worked on the other two sections, the back yoke and the left front under panel, on my own. These took forever to look right; tortuous instead of quick and simple.
 |
| collaged front panels and back yoke, before stitching |
 |
| covered with stitches & washed |
Then there's the baby quilt for my first grand nephew due in May. I decided against that project (that's how I spell relief). Instead, four siblings and I got together on a group gift off their Pottery Barn baby registry - a dresser with a changing table topper - that'll match the crib from my nephew's mother (another sister).
Remind me not to do start any quick & simple projects; enough pragmatism for the year. No more diversions or procrastinations. The studio may be a work in progress, but it's time to refocused on my non-pragmatic work.
Thursday, February 7, 2013
Bed quilt & studio progress
 |
| little hexagons ready for piecing |
 |
| center point of hexagon - front |
 |
| center point of hexagon - back |
 |
| big hexagons ready for piecing |
Instead of more pieced triangles, I intend to fill in the negative space with solids. Here's the initial trial with two solids filling in the center:
 |
| higher contrast center |
 |
| lighter valued, lower contrast center |
 |
| medium valued center |
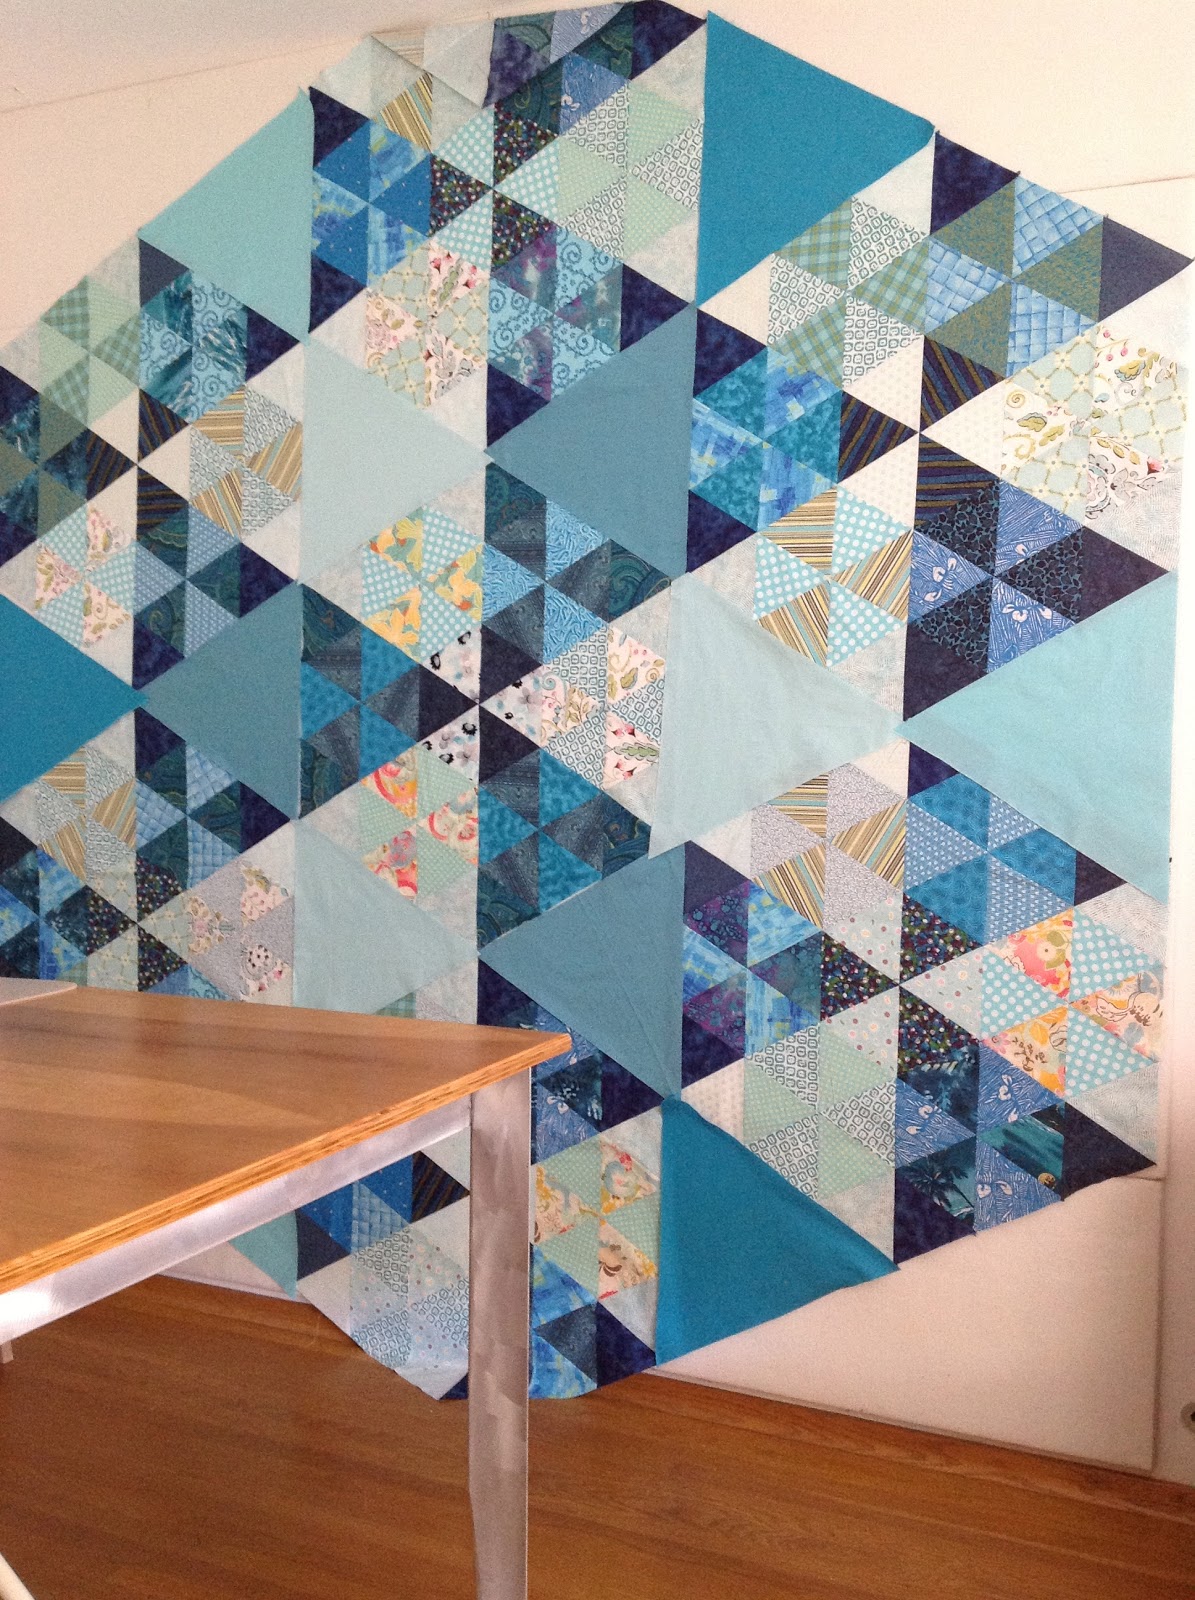 |
| less saturated center |
 |
| more saturated center |
Monday, January 21, 2013
Hexagons & triangles on the walls
After all that fmq obsession, I was itching to get back to designing and piecing. I decided to start BIG with a queen size bed quilt I've procrastinated about for a long time.
Making something for a friend can be tough - especially when it's a surprise. Add a restrictive palette in prints and I'm stressing. But this year I intend to buckle down and not put off until tomorrow.
I've nearly decimated my stash of blue prints to make this stack of triangles.
Doubts and repetitious cutting almost did me in. Then hexagons morphed into triangles on this not-big-enough design wall:
Nothing like a project to get motivated with the next phase of the studio move. Picking up from half a year ago, I used velcro Command Strips based on this tutorial from Marianne of The Quilting Edge to put up an 8 foot square design wall from two 4x8 sheets of 1" thick foam insulation:
It's not queen sized but with only one triangle left, I must've miscalculated.
That's okay. Instead of buying more fabric and cutting more triangles (ugh!), I'll go modern and add solid negative spaces. Wonder if there'd be enough leftovers for a baby quilt for the first grand nephew due in May.
Making something for a friend can be tough - especially when it's a surprise. Add a restrictive palette in prints and I'm stressing. But this year I intend to buckle down and not put off until tomorrow.
I've nearly decimated my stash of blue prints to make this stack of triangles.
 |
| 360 equilateral triangles |
 |
| an oblique view due to light fixture & worktable |
 |
| new design wall in new studio |
The top and bottom seams mark the middle five-foot height within which I don't have to get on a step stool nor get on down on the floor. Here're the hexagons and triangles on the new wall:
 |
| no obstructed view (yet) on the new design wall |
That's okay. Instead of buying more fabric and cutting more triangles (ugh!), I'll go modern and add solid negative spaces. Wonder if there'd be enough leftovers for a baby quilt for the first grand nephew due in May.
Subscribe to:
Posts (Atom)